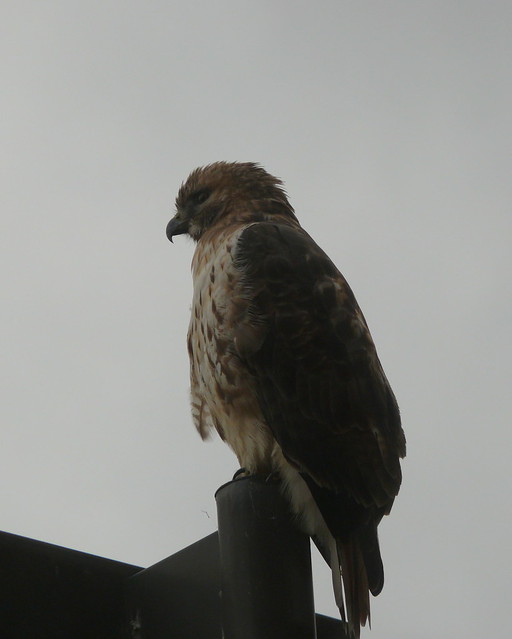
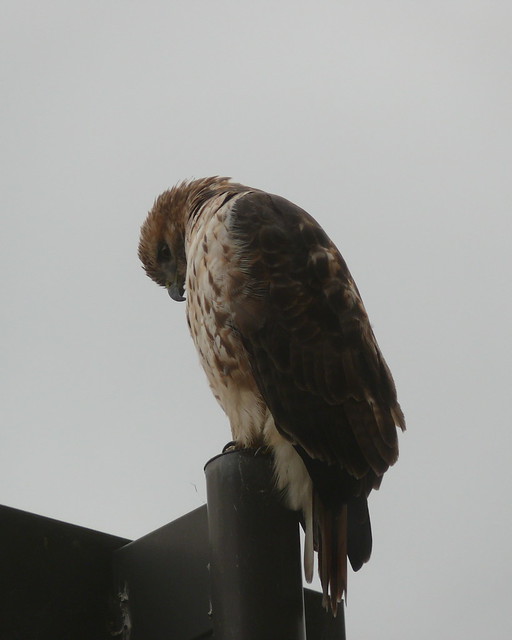
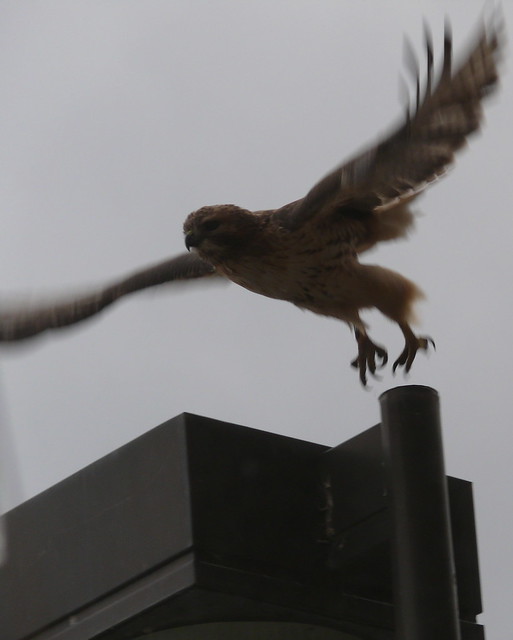
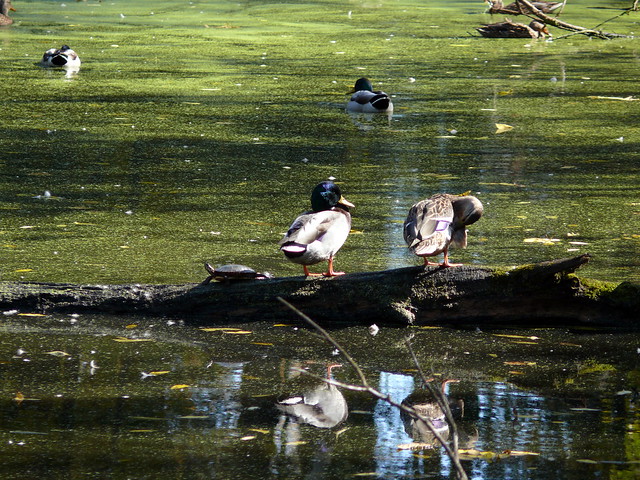
Yesterday a large red-tailed hawk took a breather on a light pole just outside the Cynergy offices. I managed to grab a few shots before it took off. Clicking any of the photos will take you to the full-sized images on Flickr.
Category: Photography
Rosy Mound Natural Area
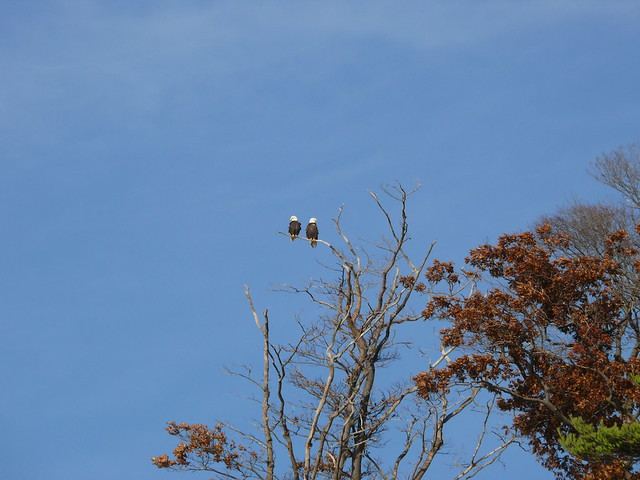
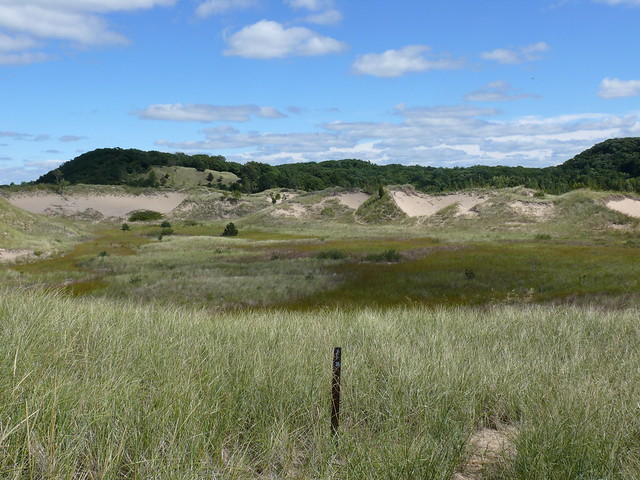
This past Saturday I took a long walk along the beach at the Rosy Mound Natural Area in Ottawa County. The highlight: a pair of bald eagles eyeballing me from a tree at the edge of the dunes. Click here to see the whole set.
Hardy Dam Rustic Nature Trail
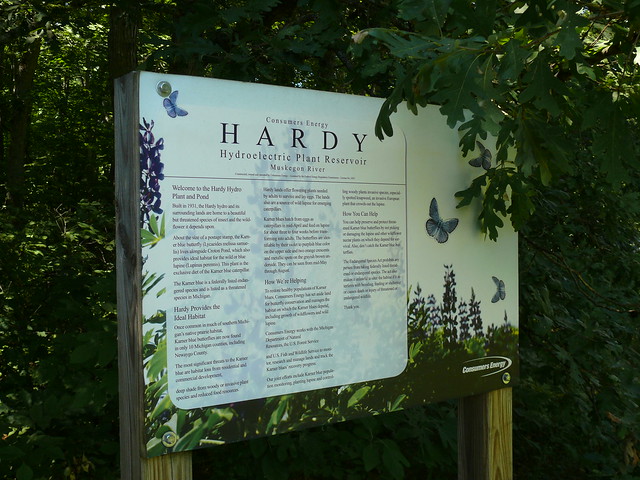
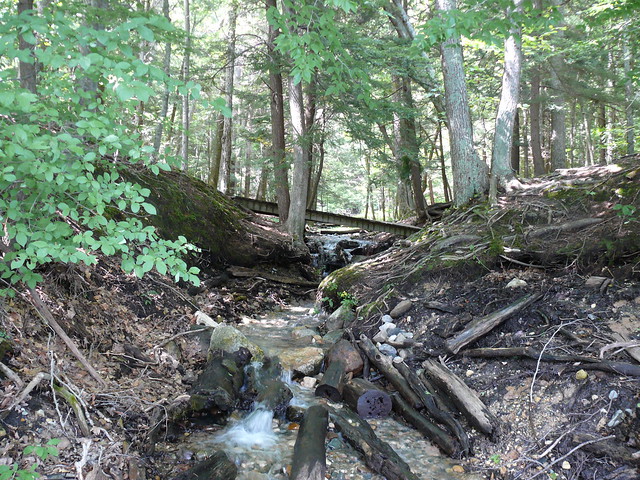
Back in mid-August my girlfriend and I spent an afternoon in Newaygo, walking along the Muskegon river just downstream from the Hardy Dam. The local Boy Scouts worked with Consumer’s Power to mark out an interpretive path called the Hardy Dam Rustic Nature Trail.
The trail is short – not quite three miles, round-trip – and is reasonably well marked. When we went the ground was wet from several inches of rain over the previous couple of weeks, so we got a little muddy. Still – a beautiful walk in the woods.
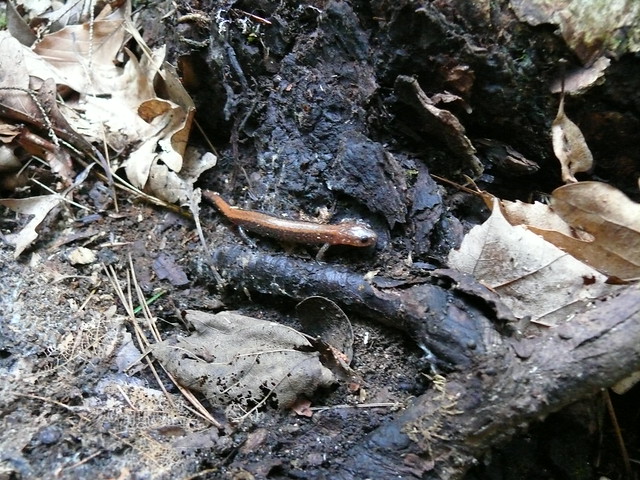
One of the highlights was the discovery of at least a dozen red-backed salamanders. There seemed to be at least one under ever fallen limb. Since they are an indicator species, I take that to mean that the ecology of the Muskegon River is quite healthy.
Click on any of the photos to see the rest of the set on Flickr, or click here to start at the beginning.
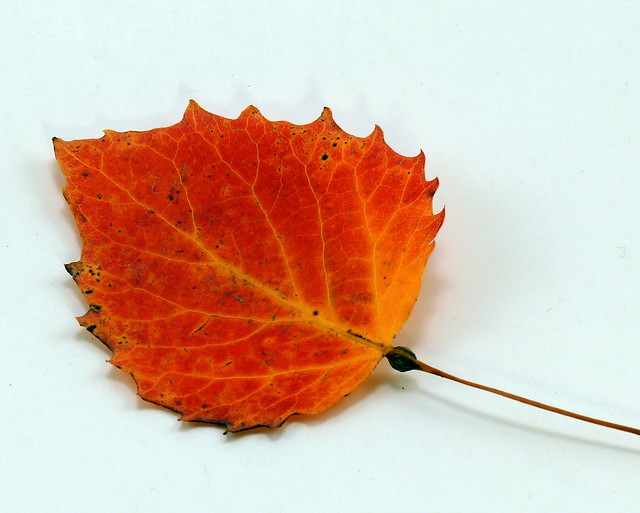
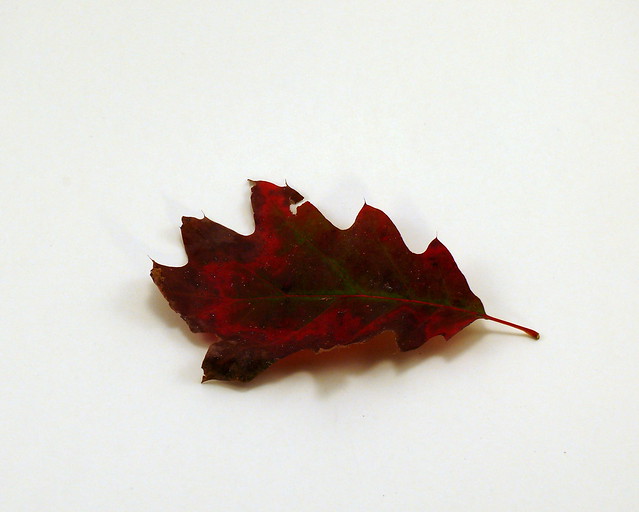
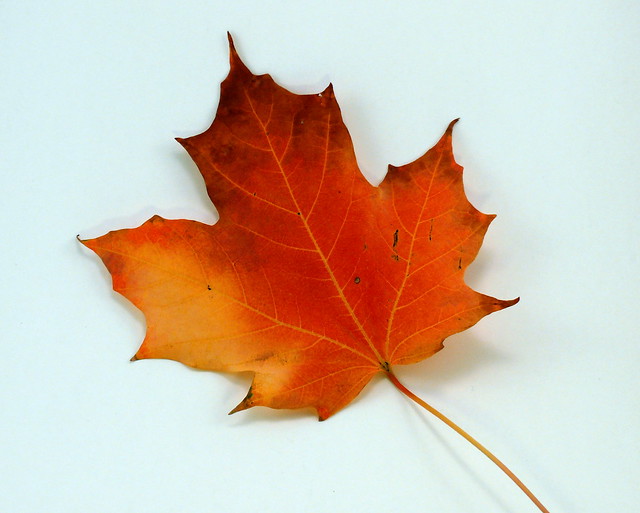
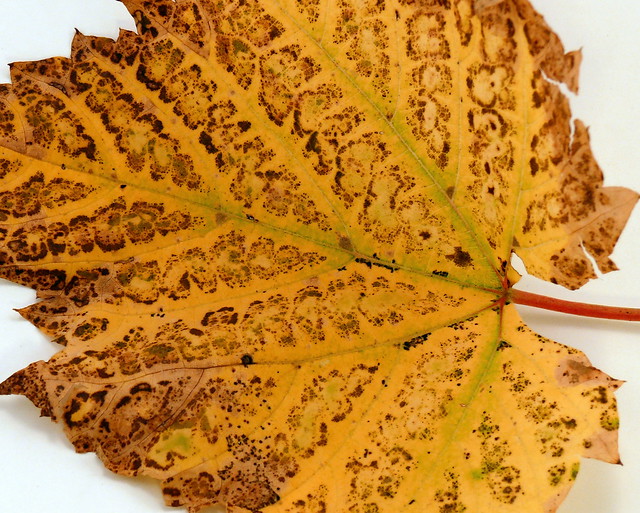
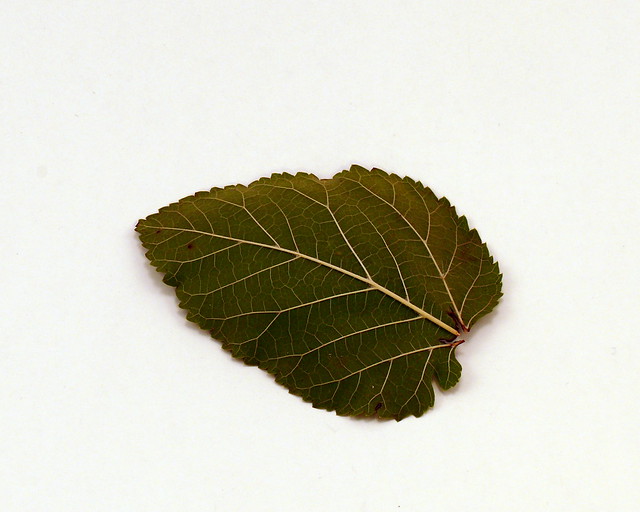
Some Leaves
Blandford Nature Center, 9 October, 2011
October 9 was a great day for a walk around Blandford Nature Center. Warm air, lots of sunshine, light breeze, and all the animals were out soaking up some mid-autumn sunlight. Click the photo to see the rest of the set on Flickr.
Hiking in the Saugatuck Harbor Natural Area
Over the Labor Day weekend Cynthia and I spent a day hiking in the Saugatuck Harbor Natural Area. If you haven’t been, or haven’t heard of it, I can’t recommend it highly enough! It starts at the north edge of Oval Beach in Saugatuck, and extends north along Lake Michigan to the Kalamazoo River channel. There are several marked trails in among the dunes. You can see it on a map here.
Click the photo to see the rest of the set on Flickr.
Another PhotoFly Test
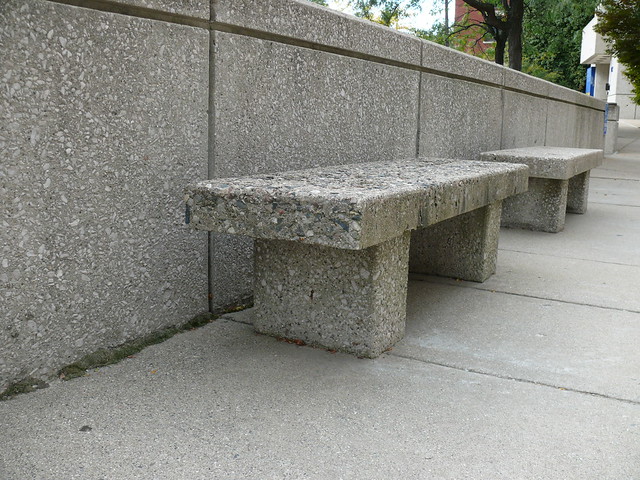
Here is another PhotoFly test. This is a stone bench outside of GRCC. PhotoFly found enough texture in the concrete that it was able to create the scene in one go, without me having to manually designate common points in any of the photos. You can see where PhotoFly still has problems with some areas, particularly where the texture in the foreground is too similar to the texture in the background. Notice the distortion on the bottom of the right underside of the bench. Also in the close-up of the underside there are a couple of small holes.
One improvement for PhotoFly would be the option to go back and fix errors which it has made when stitching photos. Alternately, re-render the scene, perhaps having the rendering engine run through the photos in a different order so it comes up with different “assumptions” about how the points in the photos fit together.
Also, here is one of the photos I used to create this render. Click it to see the rest. There are 23, and they are all of the bench. Not terribly exciting, but you will get an idea of how PhotoFly pulls information to create a 3d object.
More Thoughts About PhotoFly
Off and on over the past several weeks I have wandered around town with my camera looking for likely subjects to turn into 3d digital representations of themselves. My success rate is about .5, and is mostly made up of tree trunks and patches of gravel. Small objects, and objects in a light box, have not worked at all. I don’t know if this is a fundamental flaw with PhotoFly, an artifact of PhotoFly being in beta, or if I just don’t get it. I suspect (and hope) it is a mix of the latter two.
But enough of that. Of my successes, I have created animations of the best ones and posted them on YouTube.
This is the first animation I created. PhotoFly makes this quite easy, with a well-thought-out timeline-based animation tool. The gaps in the scene are places where the camera could not see the environment from where I took the photos. While beautiful, there are not a lot of vantage points at the koi pond.
This tree trunk is the second successful scene. The photos are from my parent’s house in Springport. I believe I took around 20 photos. Notice the gaps in the grass around the highest-resolution parts of the lawn. This is where PhotoFly couldn’t quite figure out how to stitch parts of the scene together, because grass is too uniform a color and texture for the software to sort out.
This one is my favorite so far. the overpass is a block from my house. I was wandering around with my camera when I noticed an extraordinary piece of graffiti on the concrete embankment. I took a few photos, then began wandering up and down the tracks, and up into the nooks and crannies of the overpass, trying to get everything from every angle. Mostly, I succeeded. The bridge is quite new, and nowhere near as post-apocalyptic in real life as it appears in the animation. This is my only successful attempts at modelling a hollow structure.
I went back a couple of weeks later, intending to model the entire overpass, including the railroad track leading into it. Unfortunately, the regularity, the sameness of the man-made parts of the scene confounded PhotoFly, and of the hundred or so photos I took, PhotoFly only managed to incorporate about 20 into the final scene, which looked like someone had printed a photo of the bridge onto a wad of silly putty, then twisted it up and thrown it against a wall. I suspect that a more judicious use of angles when taking photos would make a future attempt more successful.
In my opinion, this is the most successful of all of my PhotoFly experiments, simply because this is the one with the least amount of distortion. The photos which went into this scene are from the Lake Michigan shoreline, just north of Oval Beach in Saugatuck, Michigan. There was enough light, and enough varied texture, that the software created this scene in one go. I didn’t need to define any points or re-stitch any of the photos. It just worked.
This is the most recent one. A goose-neck gourd, on a foot stool in my back yard. I would call it a qualified success. The yard looks great! The gourd, other than the neck, looks pretty good. The footstool – the man-made, smooth, texture-less object – is warped and distorted, and has been melded with the background. This one probably suffered a little from the bright sunlight. The gourd is smooth and shiny, and some of its color patterns were obscured by reflections.
The three things PhotoFly seems to have the most difficulty with are reflections, lack of context, and sharply contrasting light sources. The pattern recognition part of PhotoFly can’t (at present) distinguish between a pattern and a reflection of a pattern. This makes sense; it tries to find and reproduce patterns. If two parts of a photo have the same pattern, it is difficult to decide which part goes where, without a lot of other contextual information.
Which is why PhotoFly doesn’t work well with, for instance, something in a light box. The thing itself may have astonishing detail, but without detailed surroundings to give it a location in space, PhotoFly can’t (again, at present) determine angles, curves, relative distances, and the like. This is one case where having a light source which is the same strength, everywhere at once, is actually a detriment.
With brightly contrasting light, say, a plain-colored object in full afternoon sunlight, PhotoFly doesn’t necessarily recognize that the shady side of an object is attached to the sunny side of the object. If the object has a rich texture, lots of additional information which the software can use to create context, this is not such a problem, but a photo of e.g. a large rock, partially silhouetted against the sky, doesn’t work so well.
Having figured these issues out, it is simple to come up with successful PhotoFly scenes. If I discover a workaround to any of the above issues, I will post it here and at the AutoDesk Labs forums.
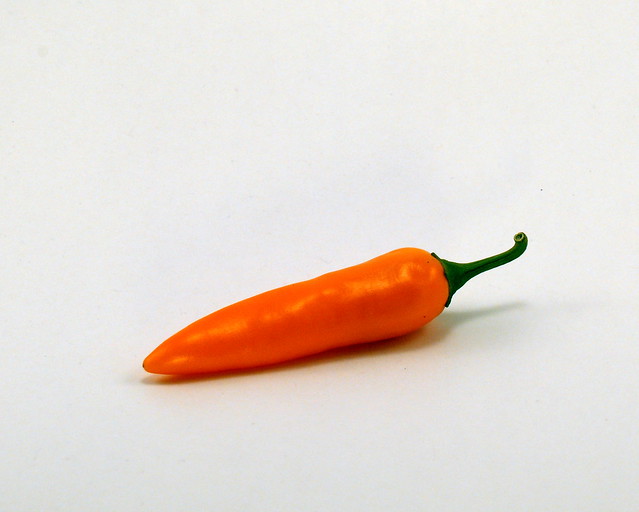
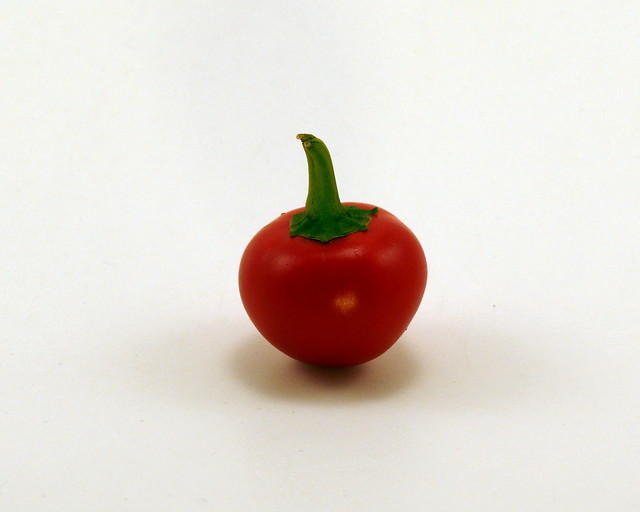
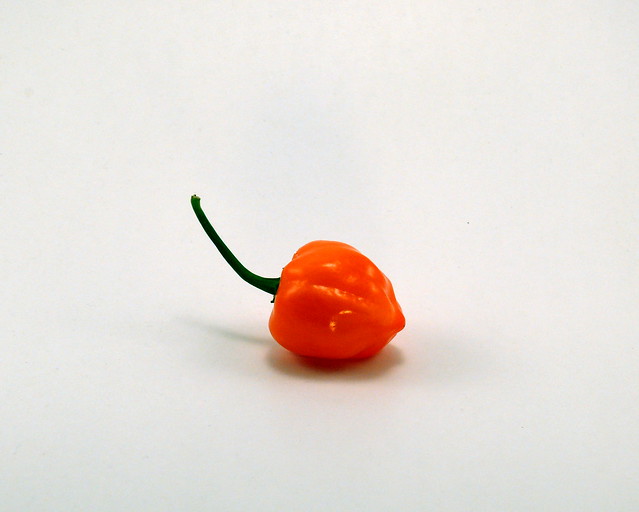
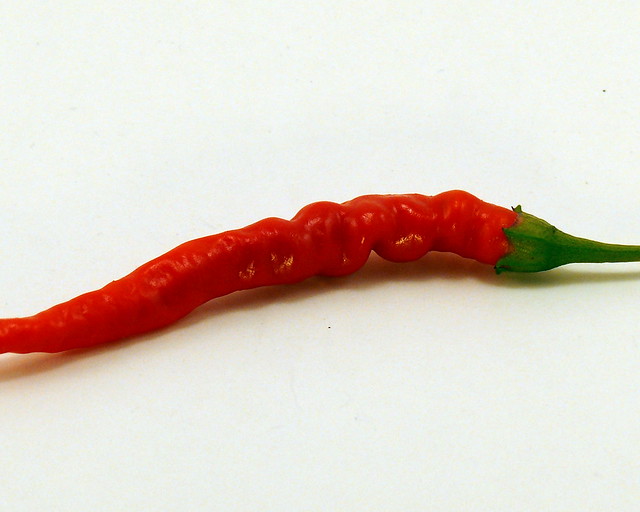
Some Photos of Hot Peppers
Turning Photos Into 3D Models

Click here to see the duck in action.
The hollow spinning duck is the result of a couple of years of contemplation and about a day and a half of work. Back in 2007 Blaise Aguera y Arcas introduced Photosynth at TED.com. Photosynth generates 3d-ish scenes from groups of photos, and one of the artifacts of this process is a point cloud which indicates all of the points of similarity between the multiple photos. Given enough photos, and enough information in each photo, the point cloud begins to resemble a 3d rendering of the subject of the photos.
The brilliant folks over at AutoDesk Labs have taken this concept one step further and created a tool which generates an actual 3d model of a scene. They call it Project Photofly, and it includes the simple-yet-amazing Photo Scene tool.
Basically, this is how it works: Pick something to photograph. This can be an object, a room, a person, or a location. Take many overlapping photos from several angles and heights. Load those photos into the Photo Scene tool. Sit back and wait as the photos are uploaded to the online portion of the tool, where all of the heavy computing takes place. Once finished, download the 3d object back into the Photo Scene tool, edit as necessary, and then render or save the result. Skaboom. Instant (ish) 3d model from a series of photos.
For my project, creating the 3d object was only half of the work. The other half was getting it to render in Flash. Fortunately, there is a powerful, easy-to-learn (again, “-ish”) Actionscript library called Away3d which can import and render a wide variety of 3d file formats. Unfortunately, the documentation is somewhat fragmented, due in part to the release of version 4 of Away3d, which targets the Flash 11 player, which is still in Beta. I am using Away3d version 3.6, and examples thereof are rapidly being replaced by newer versions.
Two books saved me: Away3d 3.6 Essentials and Away3d 3.6 Cookbook. They recommended that I take the model as produced by Photo Scene and run it through a processing tool called PreFab, which is used to pre-process 3d models to optimize them for use in any of the Flash 3d engines.
Five minutes later, I had a spinning duck.
The file size, however, was problematic. 1,200k for a single 3d model is not unreasonable, but it seemed excessive for the simple object I was using. As luck would have it, the textures generated by Photo Scene are contained in a single gigantic .jpg file, so I opened it in GIMP, reduced the quality to about 50%, and resaved at a little over 300k. I am sure I could have done more, but this was sufficient for my first model.
This group of tools excites me. The ability to make web-ready 3d models with nothing more than a camera and a couple of free tools opens a great many doors for developers and clients who do not have the resources to run a full 3d rendering farm. Textures are de facto photo quality, and file size can be manipulated to find the sweet spot between visual quality and download speeds.
My summer just got a lot more interesting.
So to recap: Here are the tools I used to create the duck. All are free (except the camera).
1. A camera
2. AutoDesk Photo Scene Editor for creating and editing the 3d model
3. Prefab for optimizing the 3d model
4. GIMP for modifying the model textures
5. Flex SDK for compiling the Flash movie
Now that I have the tools sorted out I will work on optimizing the workflow. I want to see if I can get it down to one hour from initial photo to final output. Expect to see many more of these in the near future.
